Maroon-Snomass Wilderness, Colorado is a great choice for anyone looking to take a wonderful hike in Aspen. This small parcel of rugged alpine terrain is only 10 miles outside of Aspen. Many of the trails can be completed in a short time. Some of them start at 8,300ft and climb quickly. You can hike in this area all year.
Maroon Bells hikes need solid footwear due its altitude. Winter months are more cold than summer so the road closes around mid-November and opens again in mid May. However, if you visit the area during these months, you can take snowmobile tours of the surrounding mountain ranges. You will need to drive 6 miles one-way to reach the Maroon Lake trailhead. If you have children, consider hiring a babysitter or hiking a trail in wintertime.
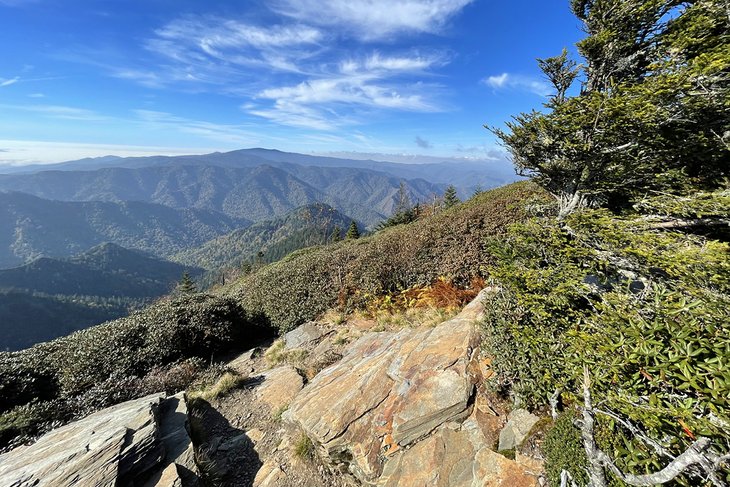
Maroon Bells' most popular hike is the Scenic Loop Trail. It offers stunning views of mountains and wildflowers. The trail is shaped like a lollipops and begins with a straightaway that ends in a loop. You will begin your journey at the west side of the lake. Cross another footbridge and continue the loop. Continue hiking around the lake's perimeter and then return to your parking spot.
Three campgrounds are located in the vicinity, with one being close to Maroon Lake Trail. The second campground is located approximately 3.7 miles from Maroon Lake trailhead. It offers easier access. This trail is scenic but it can be hard to see maroon bells from far. There are also chances of encountering moose. The hikes in Maroon Bells, despite its beauty, are very popular with tourists. While the Forest Service has attempted to manage its popularity it is important that you remember that camping at higher elevations is prohibited.
Maroon Bells Trail is the most well-known of these hikes. This 1.8-mile trail offers a great view of the Maroon Bells, and is relatively flat. It's popular among backpackers and other hikers and suitable for all levels of physical ability. While it's not as difficult as the other, it is not wheelchair-accessible. It's not the only trail in the region, but it's one of the most popular.
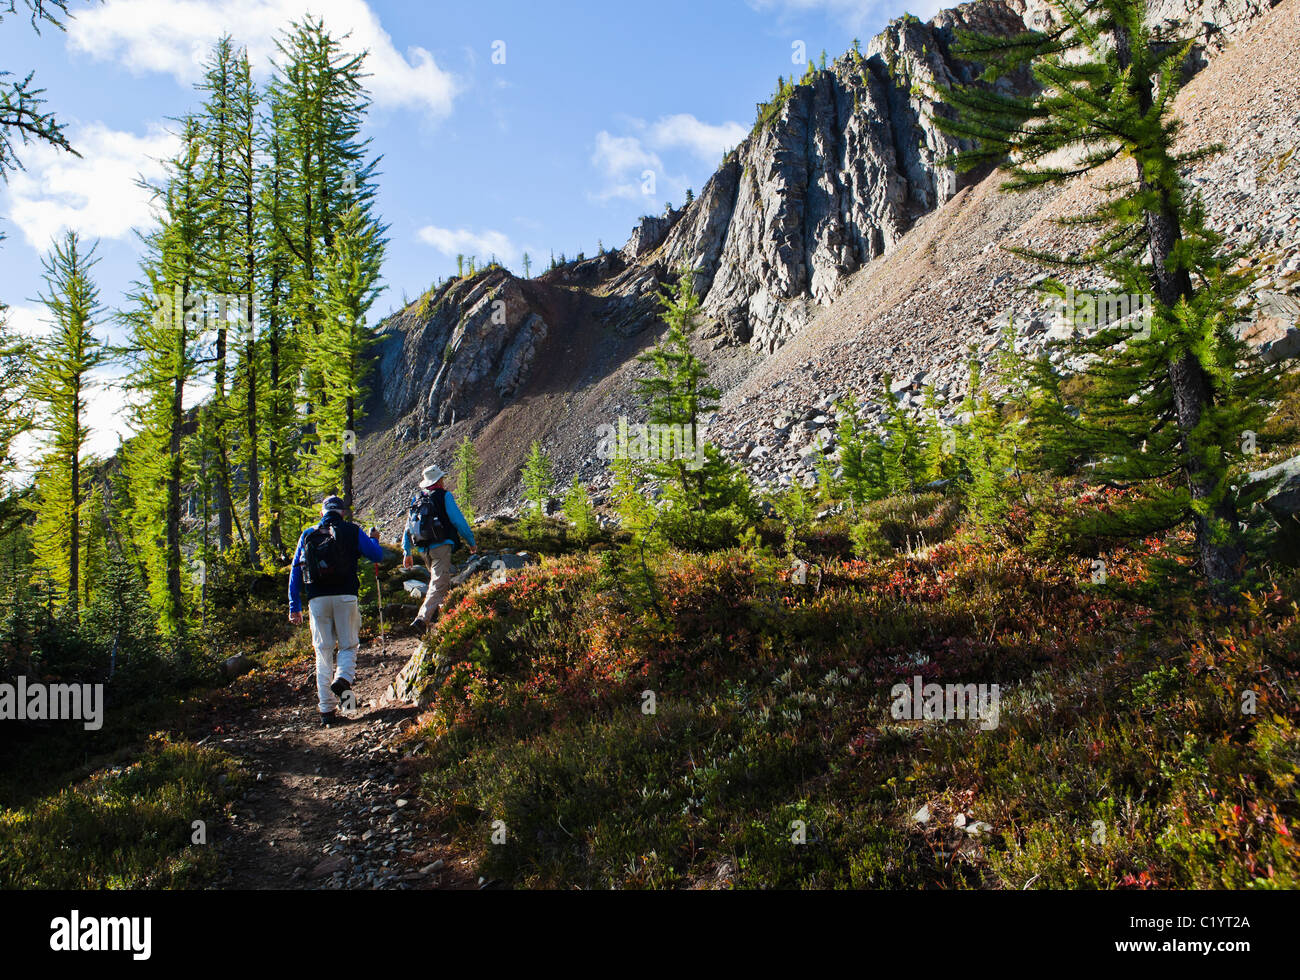
Among the other popular hikes in Maroon Bells, there are also other trails you can choose from. The Scenic Loop Trail is a three-mile lollipop trail that offers spectacular scenery. The scenic loop route is the easiest and shortest, so it's a good idea to drive into the area before you begin your trip. Crater lakes is just one of several trails available in the region.
You should adjust to high altitude when hiking in Maroon Bells. Arriving at the Welcome Station before sunrise is a great idea. This will give you ample time to adjust to the elevation before you embark on your hike. You'll be able to enjoy the breathtaking views once you feel comfortable at higher elevations. Maroon Bells also offers many other hiking opportunities.
FAQ
How can I get started in survival planning?
Start with an essential kit. You will need a basic emergency kit to provide food, water, shelter and medical supplies. Add items that will help you feel safe and secure.
Consider adding a solar powered radio, flashlight, whistle, compass, whistle and map. Consider fishing equipment for those who live near rivers or lakes.
Another great way to prepare is the bug-out bag (BOO). This backpack is filled with essential gear. A BOO can contain a tent or sleeping bag, a firestarter and stove, utensils such as pots, knives, batteries, flashlights first aid kits, toiletries, etc.
There are lots of options when it comes to preparing for disasters. These are the basic steps to start with and then expand it based on your specific situation.
What information do I need before I can start my doomsday prep?"
First, collect information about the locality. What are the most common natural disasters that could occur in your region? Are there any serious risks?
You should consider purchasing flood insurance if your home is in a flood zone. Flooding is one of the biggest threats to life during a crisis.
If you live along coastlines, you may want to purchase tsunami insurance. Tsunamis are caused by underwater earthquakes. It's important to be prepared for them as they can often happen without warning.
Next, figure out how long it will take you to become self-sufficient. What is your ability to take care of yourself?
Or will you be gone only for a few hours? Or will you be away from home for weeks or months?
Will you be living alone? If so, you'll probably want to include some type of weapon. It doesn't really matter what type of weapon you choose, such as a gun or bow and arrow. Be sure to feel at ease with whatever tool you pick.
You'll need tools such as a shovel and axe, saw, saw, hammer, nails and rope. These are tools that can be used to create shelters or makeshift weapons.
Finally, you'll likely want to stock up on extra food and water. Make sure you have enough food for several days.
Remember, you don't always need to buy every item on this list. At the very least, you need to get started.
Where do most doomsday preppers live?
Most people who prepare to face the apocalypse are likely to live in rural regions. Because of this, they are more likely than others to survive a social collapse. They also have a greater likelihood of finding supplies if there's less competition.
You need to be able to survive.
The best places to go are those with low population density. The more people there are, the easier it will be to survive.
What should I buy first when prepping?
Water bottles are essential for every person on your trip. They are essential!
It is important to always have sunscreen lotion on hand. You will need sunscreen lotion, no matter where you are going.
Also, don't forget to pack extra batteries for all your electronics. Last but not less, don't forget a few pairs sunglasses. You won't know how much glare there will be until you get there.
What should you include in a bugout bag?
A Bug Out bag (BOB), or a survival kit, is designed to allow you to survive 72 hours without food and water. The kit includes a flashlight, whistle and fire starter as well as a whistle, flashlight, whistle, handkerchief, match, rope, matches, rope, handkerchief, toilet papers, hygiene items, sunscreen, sunglasses. It also contains a hat, bottled drinking water, energy bars, batteries, an emergency blanket, and other necessities.
Remember that you'll probably only use half the items in your BOB. So choose wisely.
What should I keep in my storage for supplies?
You should aim to have three months worth of supplies in your home. This means that you should have enough food, water, or other necessities to last three months.
This number will vary depending on the severity and nature of the emergency. You may not have neighbors nearby who can help you if you are in remote areas. Perhaps there isn't a power grid.
If that is the case, it's best to plan for a longer-term scenario.
Statistics
- A survey commissioned by National Geographic found that forty percent of Americans believed that stocking up on supplies or building a bomb shelter was a wiser investment than a 401(k). (newyorker.com)
- Receiving 11.2 percent of votes in our reader survey was a propane torch. Background: This summer, we surveyed our readers about what they’d shove into a backpack if they were caught unprepared for the collapse of society. (inverse.com)
- Some 57.2 percent of voters chose Crocs, proving that comfort rules. Background: This summer, we surveyed our readers about what they’d shove into a backpack if they were caught unprepared for the collapse of society. (inverse.com)
External Links
How To
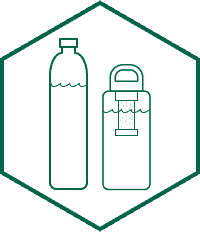
How to Find Potable Drinkable Water in a Survival Situation
Your life could be saved by having access to potable water in a critical situation. If you find yourself in a survival situation, it is important to know how to quickly locate water. You will need to make sure you have enough water so that you can survive until help arrives. You could become sick or even die if you don't have clean drinking water.
This article will cover some tips on finding safe water during emergencies. We'll discuss which water sources are best for what situations and how they can be used. We will discuss how to filter and purify water so that it is safe for drinking. Finally, we'll discuss how to store water for later use.
What are the Different Types of Water Sources?
If you are in the wild, there will likely be water sources nearby, including streams and lakes, rivers, springs or oceans. These water sources can be found all year, depending on the location. You need to take into consideration several factors in order to choose the best water source for your particular location.
First, you'll need to determine if you'll have an opportunity to collect fresh water. This means you'll need to consider whether you'll have easy access to a stream, lake, river, pond, spring, ocean, or rainwater. Second, consider whether or not you have access to clean water. Because it is difficult to treat water contaminated with urine and feces, you should not collect it. The third thing you need to consider is how much water you will need. The amount of water that you need depends on many factors. Fourth, you need to decide how to transport the water. It can be difficult to get water from some sources. One example is carrying a large water container up a steep hillside. You should also consider the weather conditions when selecting a water source. An overcast day could mean that you should not depend too much on rainwater. A sunny day may allow you to collect water without worry about contamination.